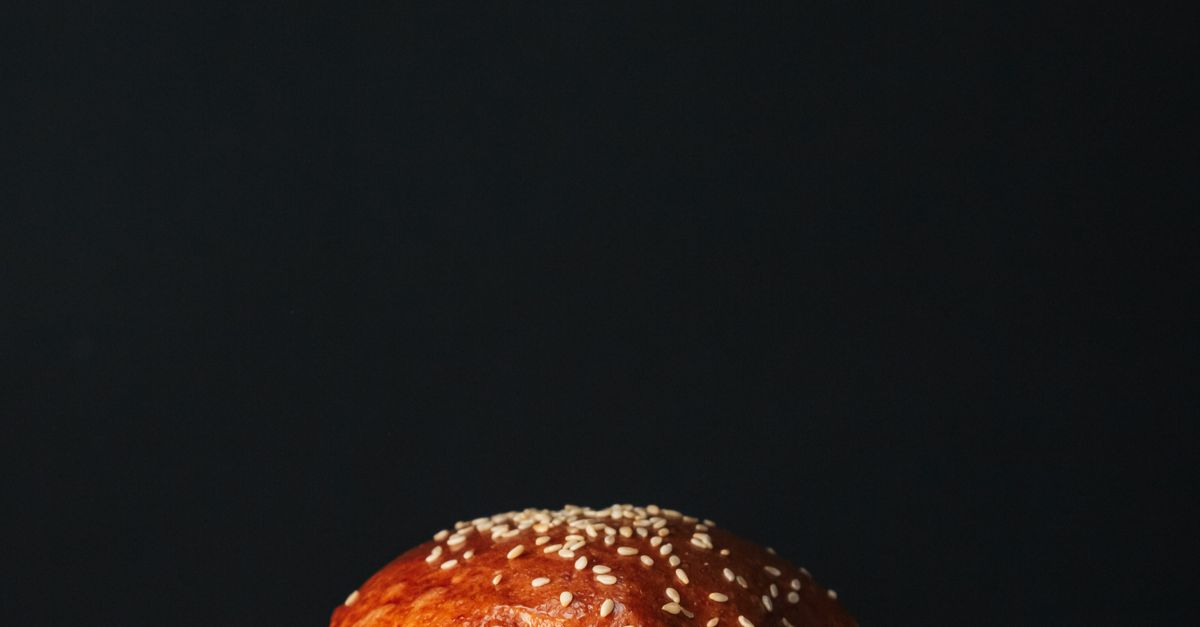
Why Your Homemade Burgers Are Always Dry (And The Simple Shifts That Guarantee Juicy Perfection)
You’ve done it before, I know you have. That eager sizzle on the grill, the aroma filling the air, and then… the first bite. Dry. Crumbly. Disappointing. It’s a common scenario in home kitchens, a culinary heartbreak that makes you wonder if a truly juicy, flavorful homemade burger is just a mythical beast reserved for high-end restaurants. I’ve been there countless times, scraping together beef that felt more like sawdust than a succulent patty. For years, my homemade burgers were an exercise in hope followed by a predictable letdown. I’d try different seasonings, cook them for less time, even add an egg (a common but often misguided tip) – all to no avail. The frustration was real, especially when store-bought burger patties often delivered better results. That’s a stinging indictment for any home cook who prides themselves on fresh ingredients and homemade goodness.
The truth is, most home cooks make a few critical, yet easily avoidable, mistakes that lead to dry burgers. It’s not just about cooking too long; it starts much earlier, with the very foundation of your burger. What changed everything for me was a deep dive into the science of ground beef and a re-evaluation of every step, from the moment I bought the meat to the final flip. I realized that my pursuit of ‘lean’ or my fear of ‘over-mixing’ was actually sabotaging my efforts. Once I understood the nuanced role of fat, temperature, and handling, my burgers transformed from arid hockey pucks into intensely flavorful, melt-in-your-mouth masterpieces. This isn’t about fancy equipment or obscure ingredients; it’s about understanding the fundamentals that truly make a difference. If you’re ready to banish dry burgers from your kitchen forever, read on.
Key Takeaways
- Choose ground beef with an 80/20 fat ratio for optimal juiciness and flavor, avoiding leaner cuts that lead to dry burgers.
- Handle the meat minimally and form patties gently to prevent overworking the protein, which results in a tough, dense texture.
- Incorporate a small ice cube or butter pat into the center of each patty before cooking to create a burst of internal moisture.
- Cook your burgers to temperature, not time, using a meat thermometer to ensure perfect doneness without drying them out.
The Fundamental Flaw: Choosing the Wrong Ground Beef
The biggest mistake I see most often, and one I made for years, is opting for excessively lean ground beef. It sounds healthy, right? Less fat, better for you. While that might be true in some contexts, for a burger, it’s a death sentence. Fat is flavor, and more importantly, fat is moisture. When that fat renders during cooking, it bastes the meat from the inside out, keeping it juicy and tender. When there’s not enough fat, there’s nothing to render, and you’re left with dry, crumbly protein fibers.
I used to reach for 90/10 or even 93/7 ground beef, thinking I was making a smarter choice. What I actually created were flavorless, dry pucks. The sweet spot, in my experience, is 80/20 ground chuck. This ratio provides enough fat to keep the burger moist and flavorful without making it greasy. You’ll often see “ground chuck” specified for burgers in good restaurants for this very reason. It has the perfect balance. Don’t be afraid of the fat; it’s essential for a good burger. If you absolutely must go leaner, say 85/15, you’ll need to actively add moisture back in, which we’ll discuss later. But for a consistently juicy burger, start with 80/20 and taste the difference.
Overworking the Meat: The Silent Killer of Tenderness
Another common pitfall is over-handling the ground beef. When you vigorously mix, knead, or compress the meat, you’re developing the protein strands. While this is desirable for something like meatloaf, it’s the enemy of a tender burger. Overworked meat becomes dense, rubbery, and tough, creating that unpleasant, chewy texture that’s far from the loose, succulent bite you want.
What changed everything for me was learning to treat ground beef with respect, almost like delicate pastry dough. Instead of mashing and compacting it, I now handle the meat as minimally as possible. Gently combine any seasonings, then lightly form the patties. Don’t press them together too tightly. Aim for a patty that just barely holds its shape. My trick is to make them slightly wider than the bun – they’ll shrink a bit during cooking. Also, pressing a small indentation in the center of the patty with your thumb or the back of a spoon helps prevent the burger from bulging into a ball while cooking, ensuring a more even cook and a flat surface for toppings. This minimal handling preserves the texture and allows the fat and juices to distribute properly, contributing significantly to a tender, juicy result.
The Secret Ingredient: A Burst of Internal Moisture
This is a game-changer that most home cooks overlook. Even with the right fat ratio, some moisture inevitably escapes during cooking. To combat this, I started experimenting with adding a small boost of internal moisture. The mistake I see most often is adding liquid directly to the mixture, which can mess with the texture. The solution is much simpler and more effective: a tiny ice cube or a small pat of butter embedded in the center of each patty.
Before you form the final patty, gently press a small divot in the center. Place a small (about ½ inch) ice cube or a teaspoon of cold butter into the divot, then fold the meat around it, sealing it completely. As the burger cooks, the ice cube melts or the butter liquifies, creating a steam pocket or an internal basting agent. This keeps the center of the burger incredibly moist and succulent. When I first tried this, the difference was astounding. It ensures that even if you slightly overcook the exterior, the core remains tender and juicy. This simple addition has elevated my burgers from good to unforgettable.
Cooking to Temperature, Not Time: The Ultimate Doneness Guide
Perhaps the most universally understood, yet frequently ignored, advice is to avoid overcooking. But how do you really know when a burger is done without cutting into it and losing precious juices? Relying solely on cooking time, as many recipes suggest, is a recipe for dryness. Grill temperatures vary, patty thickness differs, and even the starting temperature of your meat can throw off timing. This is where a reliable instant-read meat thermometer becomes your best friend.
What changed everything for me was abandoning the clock and embracing the thermometer. For a medium-rare burger, I pull it off the heat at 130-135°F (54-57°C). For medium, it’s 140-145°F (60-63°C). Remember that carryover cooking means the internal temperature will rise a few degrees after you remove it from the heat. This slight difference, often just a minute or two, is the razor’s edge between juicy perfection and dry disappointment. Insert the thermometer into the thickest part of the patty, horizontally, making sure not to go all the way through. By cooking to temperature, you guarantee doneness without sacrificing juiciness, every single time. It’s a small investment that pays huge dividends in flavor and texture.
Resting Your Burger: The Final, Crucial Step
Just like with a steak or any other cooked meat, resting your burger after it comes off the heat is a non-negotiable step for optimal juiciness. When meat cooks, the muscle fibers contract, pushing the internal juices towards the center. If you cut into it immediately, those juices will gush out, leaving you with a drier patty and a puddle on your plate.
In my experience, a simple 5-minute rest makes all the difference. Tent your cooked burgers loosely with foil on a plate. This allows the juices to redistribute throughout the patty, reabsorbing into the muscle fibers. The result is a uniformly juicy burger from edge to edge. It’s a small act of patience that yields significant rewards, ensuring that all your previous efforts to keep the burger moist don’t go to waste in the final moments. Don’t skip this step – it’s the unsung hero of a truly sensational homemade burger.
Frequently Asked Questions
Q: Can I use leaner ground beef and still get a juicy burger?
A: While 80/20 is ideal, you can use leaner beef like 85/15. However, you must actively add moisture. The best way is to incorporate a small ice cube or a pat of butter into the center of the patty before cooking. You can also mix in a tablespoon of grated onion or a touch of Worcestershire sauce, but be careful not to overwork the meat.
Q: My burgers always swell up in the middle. How do I prevent this?
A: This is a common issue! To prevent your patties from bulging into a sphere, make a small indentation (or dimple) in the center of each patty with your thumb before cooking. This helps the burger maintain a flatter shape as it cooks and shrinks.
Q: How do I know when my burger is cooked perfectly without cutting into it?
A: The most accurate way is to use an instant-read meat thermometer. For medium-rare, aim for 130-135°F (54-57°C); for medium, 140-145°F (60-63°C). Remember to account for carryover cooking, where the temperature will rise slightly after removal from heat. Insert the thermometer into the side of the thickest part of the patty.
Q: Should I add salt and pepper to the ground beef mixture, or just before cooking?
A: It’s best to season the patties generously just before they hit the heat, rather than mixing salt into the meat itself. Salt draws out moisture, and mixing it in too early can actually contribute to a drier, tougher burger by altering the protein structure. A good sprinkle of kosher salt and freshly cracked black pepper on both sides right before cooking is ideal.
Q: How long should I rest my burgers after cooking?
A: Aim for a 5-minute rest after taking them off the heat. Tent them loosely with foil to keep them warm. This resting period allows the juices, which have migrated to the center during cooking, to redistribute throughout the patty, resulting in a much juicier and more flavorful burger from edge to edge.
Conclusion
Transforming your homemade burgers from dry disappointments to juicy delights is entirely within your grasp. It’s not about magic, but a methodical approach that respects the ingredients and the cooking process. By starting with the right ground beef (80/20 chuck is your best friend), handling it minimally, adding a burst of internal moisture, cooking to precise temperatures, and allowing for a crucial rest, you’ll achieve results that rival your favorite burger joint. These aren’t just tips; they are the fundamental shifts that redefined my own burger-making journey. Stop settling for dry, crumbly patties. Embrace these simple yet powerful techniques, and prepare to bite into the juiciest, most flavorful homemade burger you’ve ever created. Your taste buds (and your family) will thank you.
Written by Lena Petrova
home organization & sustainable living
A veteran journalist with an eye for practical solutions and a passion for simplifying complex topics.
You Might Also Like
Why Your Homemade Pizza Crust Isn't Crispy (And The Pro Secrets That Deliver Pizzeria-Quality Crunch Every Time)
Tired of soggy pizza crust? Discover the common mistakes that steal your crunch and the pro secrets to achieve a perfectly crispy, pizzeria-quality crust at home.
Why Your Homemade Brownies Are Chalky (And The Simple Shifts That Guarantee Fudgy Perfection Every Time)
Stop settling for dry, chalky brownies. Discover the precise shifts in ingredients and technique that guarantee rich, fudgy brownies every single time.

Why Your Home Still Feels Stuffy (Even with Windows Open) — And What Actually Works for Real Fresh Air
Discover why opening windows isn't enough for fresh air and the hidden culprits making your home stuffy. Get expert tips for real air quality.