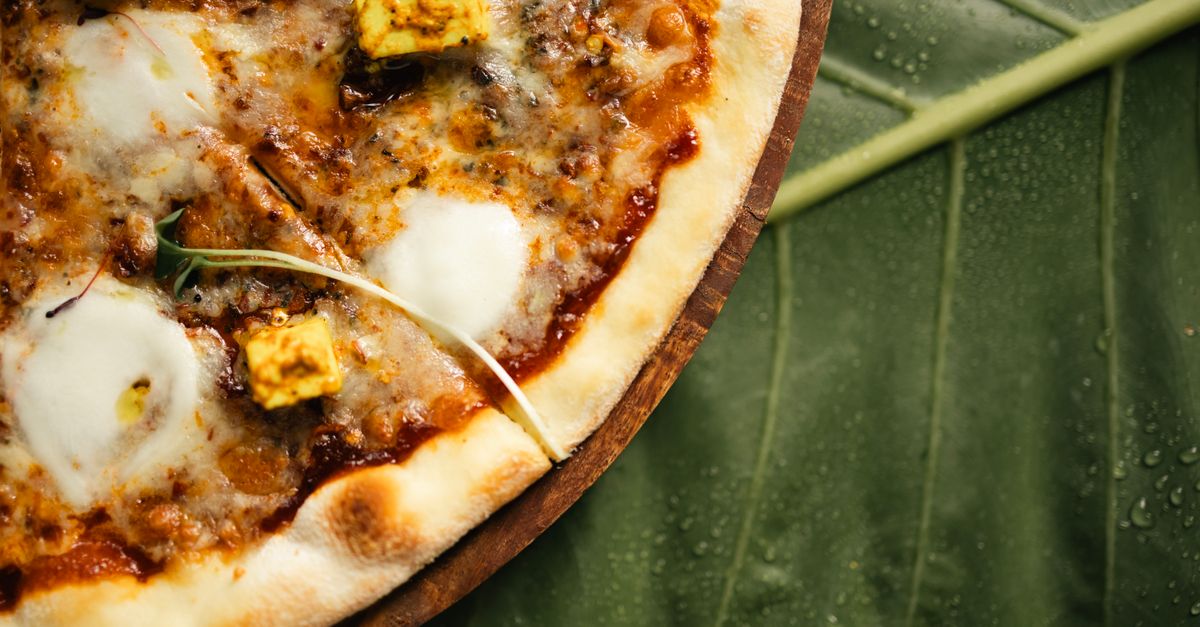
Why Your Homemade Pizza Crust Lacks That Perfect Chew (And The Pro Secrets That Deliver Pizzeria-Quality Results)
You’ve spent the evening meticulously topping your homemade pizza, the cheese is bubbling, the sauce is rich, and the aroma fills your kitchen. Anticipation builds as you slice into that golden circle, only to find… a crust that’s more cracker-like or bread-like than the pliable, airy, yet distinctly chewy base you crave from your favorite pizzeria. It’s frustrating, isn’t it? You followed a recipe, perhaps even a highly-rated one, but that elusive elasticity and satisfying pull are nowhere to be found.
I’ve been there countless times. For years, my homemade pizzas were delicious, but the crust was always the weak link. It lacked that unique textural contrast—a crisp exterior giving way to an interior that required a slight tug and offered a delightful bounce. This isn’t just about taste; it’s about the entire pizza experience. The crust is the foundation, the handle, the vehicle for all those wonderful toppings. A lackluster crust makes the whole endeavor feel… homemade in the wrong way.
In my journey to conquer the chewy pizza crust, I discovered that many common recipes miss crucial details. They focus on ingredients but overlook the nuanced techniques and timelines that transform a simple dough into a masterpiece. What changed everything for me wasn’t a magic ingredient, but a series of precise adjustments to how I mixed, rested, and baked the dough. These aren’t just minor tweaks; they’re fundamental shifts that unlock the true potential of your homemade pizza.
Key Takeaways
- Achieve optimal chew by using high-protein flour and precise hydration for gluten development.
- Develop superior flavor and elasticity through extended cold fermentation, not just a quick rise.
- Master the stretching technique to preserve air bubbles and create an open, airy crumb.
- Bake at the highest possible temperature with a preheated pizza stone or steel for rapid, even cooking.
It Starts with Flour: Why All-Purpose Falls Short for Chew
The biggest mistake I see most home pizza makers make is using all-purpose flour. While versatile, it simply doesn’t have the protein content necessary to develop the kind of strong, elastic gluten network required for a truly chewy crust. Think of gluten as the scaffolding that gives your crust structure and that satisfying pull. Without enough of it, your dough will inevitably be weaker and less elastic.
What actually works: Switch to bread flour at a minimum, or ideally, a ‘00’ pizza flour (like Caputo Classica or Antimo Caputo Chef’s Flour). Bread flour typically has a protein content of 12-14%, significantly higher than all-purpose (10-12%). ‘00’ flour is finely milled, which allows for better hydration and a smoother dough, but its magic for chew lies in its specific protein quality, often optimized for pizza. It builds a strong, extensible gluten network that can trap gas and create those desirable air pockets, leading to a lighter and chewier crust.
I vividly remember the first time I made this switch. My dough, even before baking, felt different—more resilient, more alive. The resulting crust had a distinct, almost springy texture that was a revelation. Don’t underestimate the power of the right flour; it’s the foundation of chew.
The Hydration Sweet Spot: More Water, Better Chew (But Not Too Much!)
Many home recipes recommend hydration levels (water as a percentage of flour weight) around 60-65%. While this makes for an easier-to-handle dough, it often sacrifices chew. Higher hydration, in the 68-75% range, is crucial for a more open crumb structure and, critically, for allowing the gluten to fully hydrate and develop. This extra water helps create steam during baking, contributing to airiness and a softer, chewier interior.
However, there’s a fine line. Too much water (above 75-80% for most home cooks) makes the dough incredibly sticky and difficult to handle, especially without professional equipment or extensive experience. The goal is a dough that is tacky but manageable—one that you can stretch without it tearing immediately.
What actually works: Experiment with a hydration level of 70%. This means for every 100 grams of flour, you’d use 70 grams of water. This range pushes the dough’s elasticity while remaining somewhat user-friendly. When you add the water to the flour, don’t dump it all in at once. Gradually add it, mixing until just combined, then let it rest for 10-15 minutes (autolyse). This resting period allows the flour to absorb the water more fully, jumpstarting gluten development before you even start kneading, making for a stronger, chewier dough with less effort.
The Cold Fermentation Game Changer: Time is Flavor and Texture
If you’re making pizza dough and only letting it rise for an hour or two at room temperature, you’re missing out on everything. Quick rises produce a dough that’s simply underdeveloped in both flavor and texture. This is perhaps the single most impactful change you can make to your pizza-making process for superior chew.
What actually works: Implement cold fermentation in your refrigerator for a minimum of 24 hours, but ideally 48-72 hours. After your initial mix and a brief room-temperature proof (say, 1-2 hours), place your dough (covered tightly in an oiled bowl) in the fridge. This slow, cold fermentation allows yeast to work at a much slower pace, producing more complex flavors and, crucially, allowing enzymes to break down starches and proteins, which further enhances gluten development and elasticity. The dough becomes more extensible, easier to stretch, and develops a richer, tangier flavor.
When you pull that cold-fermented dough out of the fridge, it will be noticeably softer, more extensible, and have a more sophisticated aroma. Just remember to bring it to room temperature for at least 2-3 hours before you plan to stretch and bake it. This allows the gluten to relax and makes the dough easier to work with, preventing it from snapping back when stretched.
Mastering the Stretch, Not the Roll: Preserving Those Precious Air Bubbles
Rolling pizza dough with a rolling pin is a cardinal sin if chewiness is your goal. A rolling pin forcibly expels the gases that developed during fermentation, leading to a dense, flat, and ultimately less chewy crust. Those tiny air pockets are what give the crust its lightness and structure.
What actually works: Learn to stretch your dough by hand. This takes practice but is incredibly rewarding. Begin with a well-proofed, room-temperature dough ball on a lightly floured surface. Gently press from the center outwards, pushing air towards the rim to create that puffy, airy cornicione (the edge crust). Then, lift the dough and let gravity do most of the work, gently rotating and stretching it over your knuckles or the back of your hands. The goal is to stretch it thinly in the center while maintaining a slightly thicker, air-filled rim.
In my kitchen, this went from being the most frustrating step to the most satisfying. The dough, properly fermented and hydrated, almost stretches itself. It feels alive. The visual difference alone—a rustic, uneven edge rather than a perfectly uniform one—signals a crust that will have character and, yes, that amazing chew.
The Heat Factor: Oven Temperature and Baking Surface
Home ovens are often the biggest limitation in achieving a pizzeria-quality crust. Commercial pizza ovens reach temperatures of 800-900°F (425-480°C), cooking a pizza in 90 seconds to 3 minutes. This rapid, intense heat is what creates that signature crisp bottom, airy interior, and leopard-spotted char on the crust edge.
Your home oven simply can’t get that hot, but you can get remarkably close to the effect of high heat.
What actually works:
- Crank up the heat: Preheat your oven to its absolute highest setting, usually 500-550°F (260-290°C), for at least one hour. This isn’t just about the air temperature; it’s about thoroughly heating your baking surface.
- Invest in a pizza stone or steel: A pizza steel is my top recommendation, as it conducts heat more efficiently than a stone and retains it better, providing a more intense heat transfer to the dough. Place your stone or steel on the top rack of your oven during the preheating period. This creates a super-hot surface that mimics the floor of a professional pizza oven, ensuring rapid cooking of the base.
- Use a peel: Launching the pizza onto the preheated stone or steel quickly is vital to prevent heat loss. A wooden or metal pizza peel, dusted with semolina flour, is essential. The semolina acts like tiny ball bearings, helping the pizza slide off smoothly.
This high-heat, rapid-bake method ensures the crust cooks quickly, preventing it from drying out and allowing the internal moisture to create steam, resulting in a light, airy, and incredibly chewy interior with a perfectly crisp base. The difference between a pizza baked on a hot stone/steel versus a cold baking sheet is night and day.
Frequently Asked Questions
Q: My dough is too sticky even at 70% hydration. What am I doing wrong?
A: Very high hydration doughs are inherently sticky, which is normal. However, if it’s unmanageable, you might be adding too much water too quickly, or your flour isn’t absorbing it well enough. Ensure you’re gradually adding water, allowing for an autolyse rest, and kneading thoroughly to develop gluten. If it’s still too sticky, try reducing hydration slightly (e.g., to 68%) until you gain more experience. Don’t add extra flour to the dough itself, but a light dusting on your work surface and hands is essential for handling.
Q: Can I use instant yeast for cold fermentation, or do I need active dry?
A: Instant yeast works perfectly fine for cold fermentation. Because it’s designed to be added directly to flour without proofing, it’s often more convenient. The slow, cold environment of the refrigerator will manage its activity, producing excellent results. Just ensure your dough rises a bit at room temperature (1-2 hours) before going into the fridge, as yeast activity is minimal at cold temperatures.
Q: My pizza crust is still dense, even after cold fermentation and high heat. What could be the issue?
A: Density often points to underdeveloped gluten or improper handling. Double-check your flour’s protein content (ensure it’s bread flour or ‘00’). Make sure you’re kneading enough to develop a strong gluten network (the windowpane test is a good indicator). If you’re using a rolling pin, stop! Hand-stretching is crucial for preserving those air bubbles. Also, ensure your dough is fully at room temperature before stretching, as cold dough will be stiff and hard to stretch without tearing or deflating.
Q: My crust gets too hard and cracker-like. How can I fix this?
A: A cracker-like crust typically indicates insufficient hydration, over-baking, or an improperly heated baking surface. Increase your hydration to 68-72%. Ensure your oven and pizza stone/steel are preheated for at least a full hour at the highest temperature to allow for quick, intense baking. If your crust is hard but not burnt, you might be baking it for too long; aim for 5-8 minutes depending on your oven and toppings, and remove it once the crust is golden and the cheese is bubbly.
Q: I don’t have a pizza stone or steel. Can I still get a chewy crust?
A: While a stone or steel makes a dramatic difference, you can still improve your crust without one. Use a heavy-duty baking sheet or cast iron pan, and preheat it in the oven for at least 30-45 minutes at the highest temperature. The goal is to transfer the pizza onto an already scorching hot surface. This won’t quite match the performance of a steel, but it’s significantly better than starting with a cold pan. For extra steam (which aids chewiness), you can place a shallow pan of water on the bottom rack of your oven during preheating, but be careful when opening the oven.
In essence, achieving that elusive chewy pizza crust at home isn’t about one magic trick, but a symphony of refined techniques. From selecting the right flour and optimizing hydration to embracing the patience of cold fermentation and mastering the gentle art of stretching, each step builds upon the last. And, of course, giving your pizza the intense heat it deserves is the grand finale that brings it all together. Once you experience that satisfying tug and airy bite, you’ll never look back. Go forth and conquer your homemade pizza game!
Written by Lena Petrova
home organization & sustainable living
A veteran journalist with an eye for practical solutions and a passion for simplifying complex topics.
You Might Also Like
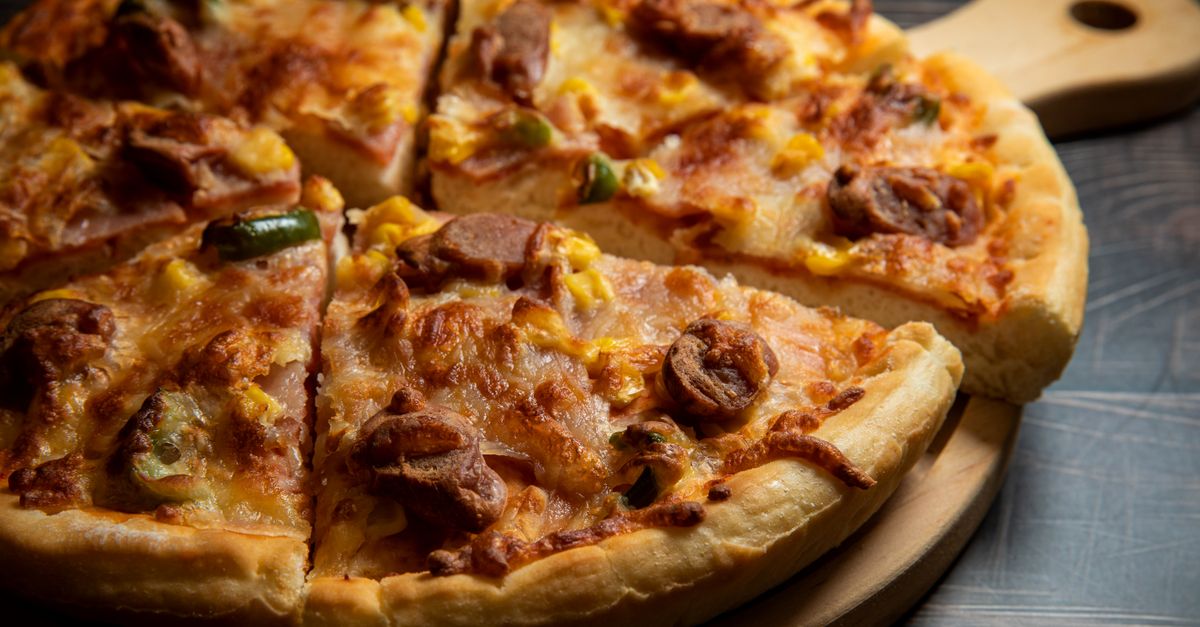
Why Your Homemade Pizza Crust Isn't Crispy (And The Pro Secrets That Deliver Pizzeria-Quality Crunch Every Time)
Tired of soggy pizza crust? Discover the common mistakes that steal your crunch and the pro secrets to achieve a perfectly crispy, pizzeria-quality crust at home.
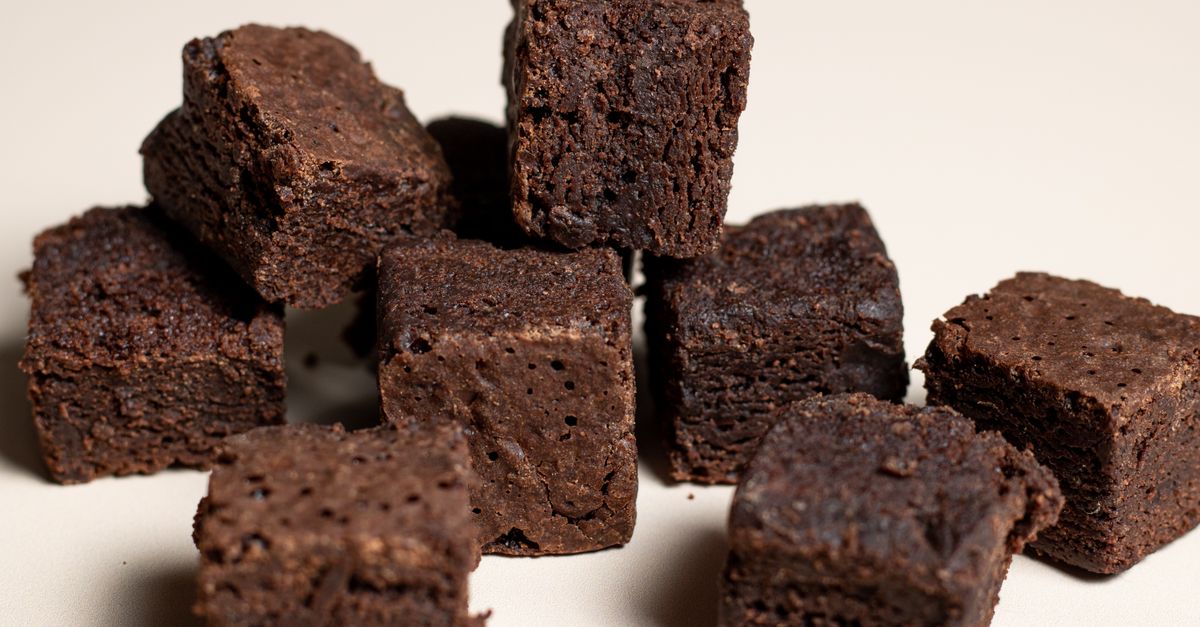
Why Your Homemade Brownies Are Chalky (And The Simple Shifts That Guarantee Fudgy Perfection Every Time)
Stop settling for dry, chalky brownies. Discover the precise shifts in ingredients and technique that guarantee rich, fudgy brownies every single time.

Why Your Home Still Feels Stuffy (Even with Windows Open) — And What Actually Works for Real Fresh Air
Discover why opening windows isn't enough for fresh air and the hidden culprits making your home stuffy. Get expert tips for real air quality.